Mastering ZBrush 3D Print: The Ultimate Guide For Creating Stunning 3D Prints
So here's the deal, if you're diving into the world of 3D printing, you're probably hearing a lot about ZBrush. ZBrush 3D print is more than just a tool; it's like having a digital sculpting studio at your fingertips. Whether you're an artist, designer, or hobbyist, understanding ZBrush's capabilities can take your 3D printing game to the next level. Let me break it down for you.
Now, before we get too deep into this, let's face it: ZBrush is not your average software. It's powerful, flexible, and packed with features that can seem overwhelming at first. But don’t sweat it! This guide is here to help you navigate through the ins and outs of ZBrush 3D print, ensuring you're not only creating something but creating something truly remarkable.
Stick around because we’re going to dive into everything from setting up your first project to exporting files ready for 3D printing. And trust me, by the end of this, you'll be equipped with all the knowledge you need to make your 3D printing dreams a reality.
- Does Wendys Serve Pepsi Or Coke The Ultimate Debate
- Can Cats Be Alone For 3 Days The Ultimate Guide To Keeping Your Furry Friend Safe And Happy
Understanding ZBrush and Its Role in 3D Printing
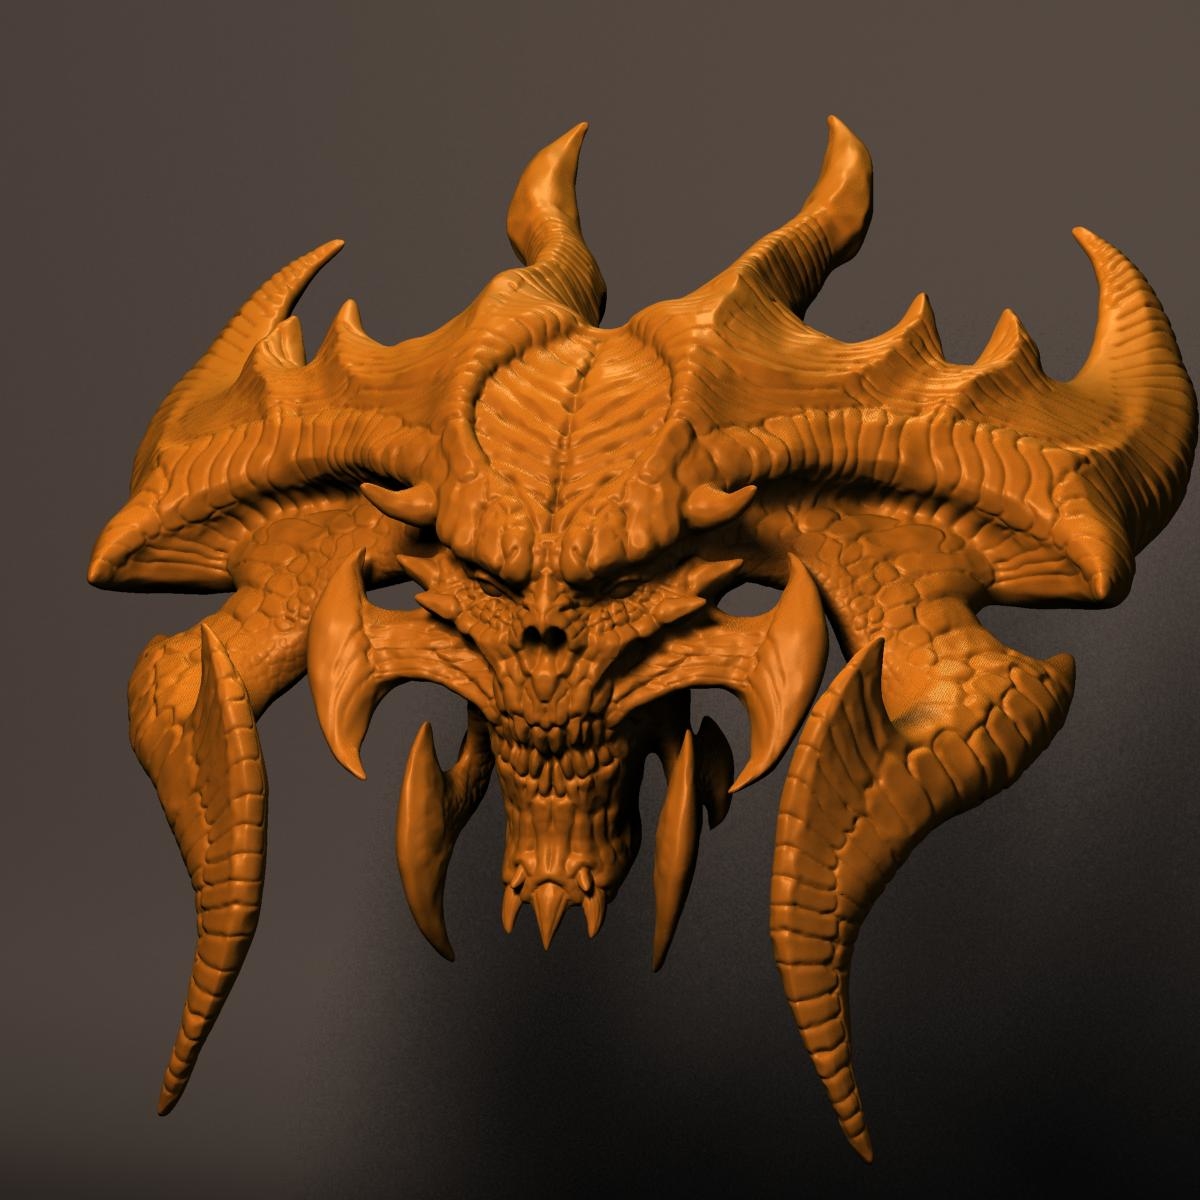
Alright, let’s talk about ZBrush. Imagine a software that allows you to sculpt, paint, and texture your models with incredible detail. That’s ZBrush. When it comes to 3D printing, ZBrush plays a crucial role. It’s not just about creating models; it’s about creating models that are print-ready. ZBrush gives you the ability to add intricate details that other software might not be able to handle.
What Makes ZBrush Stand Out in the 3D Printing World?
Here’s the thing: ZBrush has a unique set of tools that make it stand out. Let me highlight a few:
- Dynamic Subdivision (DynaMesh): This tool lets you reshape your models on the fly without worrying about topology. It's like having clay that you can mold however you want.
- Decimation Master: Need to reduce your polygon count for 3D printing? Decimation Master is your go-to tool. It simplifies your models while preserving their details.
- GoZ Plugin: This plugin bridges ZBrush with other 3D modeling software, making it easier to transfer files and work seamlessly between programs.
Setting Up Your First ZBrush Project for 3D Print
Now that we’ve got the basics down, let’s get practical. Setting up your first ZBrush project is pretty straightforward, but there are a few things you should keep in mind:
- How To Master The Art Of Looking For A Girlfriend In The Modern World
- Captain America Promotional The Ultimate Guide For Fans And Collectors
First, you’ll want to make sure your units are set correctly. ZBrush defaults to its own unit system, but you can switch it to millimeters, inches, or whatever you’re comfortable with. This is crucial because you don’t want to end up with a model that’s way too big or too small for your printer.
Steps to Set Up Your Units in ZBrush
Here’s a quick rundown:
- Open ZBrush and go to Tool > Geometry > Size.
- Set your desired units under the Size section.
- Save your settings so you don’t have to do this every time you start a new project.
Simple, right? This step ensures your models are scaled correctly from the get-go.
Creating Your First 3D Model in ZBrush
Alright, let’s get our hands dirty. Creating your first 3D model in ZBrush is an exciting experience. You start with a basic shape, called a DynaMesh, and sculpt it into whatever your imagination desires.
How to Use DynaMesh for Sculpting
DynaMesh is one of ZBrush’s most powerful tools. Here’s how you can use it:
- Start with a basic shape like a sphere or cube.
- Activate DynaMesh by going to Geometry > DynaMesh.
- Set your resolution and start sculpting. You can reshape your model as much as you want without worrying about topology.
It’s like having a blank canvas where you can experiment without fear of messing up your model.
Adding Details and Textures to Your Model
Once you’ve got the basic shape down, it’s time to add some details. ZBrush excels at this. You can add fine details, textures, and even colors to your model. This is where your creativity truly shines.
Using ZBrush Brushes for Detailing
ZBrush comes with a wide variety of brushes that you can use to add details. Here are a few favorites:
- Standard Brush: Great for basic sculpting.
- Clay Tubes: Perfect for adding tube-like structures.
- Trim Dynamic: Useful for cutting and shaping your model.
Experiment with these brushes to see what works best for your project.
Preparing Your Model for 3D Printing
Now, let’s talk about the nitty-gritty. Preparing your model for 3D printing is crucial. You want to ensure that your model is watertight, meaning it has no holes or gaps. ZBrush has tools to help you with this.
Using Decimation Master for Optimization
Decimation Master is your best friend when it comes to optimizing your model for 3D printing. Here’s how to use it:
- Select your model and go to Geometry > Decimation Master.
- Set your reduction percentage. Start with a low number and increase it gradually.
- Preset your model to ensure it’s optimized for 3D printing.
This process reduces the polygon count while preserving the details, making your model easier to print.
Exporting Your Model for 3D Printing
Alright, you’ve sculpted, detailed, and optimized your model. Now it’s time to export it. ZBrush allows you to export your models in various formats, but the most common for 3D printing is STL.
Steps to Export Your Model as an STL File
Here’s how you do it:
- Go to Tool > Export.
- Select the STL format.
- Choose your export location and hit save.
And just like that, your model is ready for 3D printing.
Tips and Tricks for Successful ZBrush 3D Print
Here are a few tips to help you succeed with ZBrush 3D print:
- Always check your model for errors before exporting.
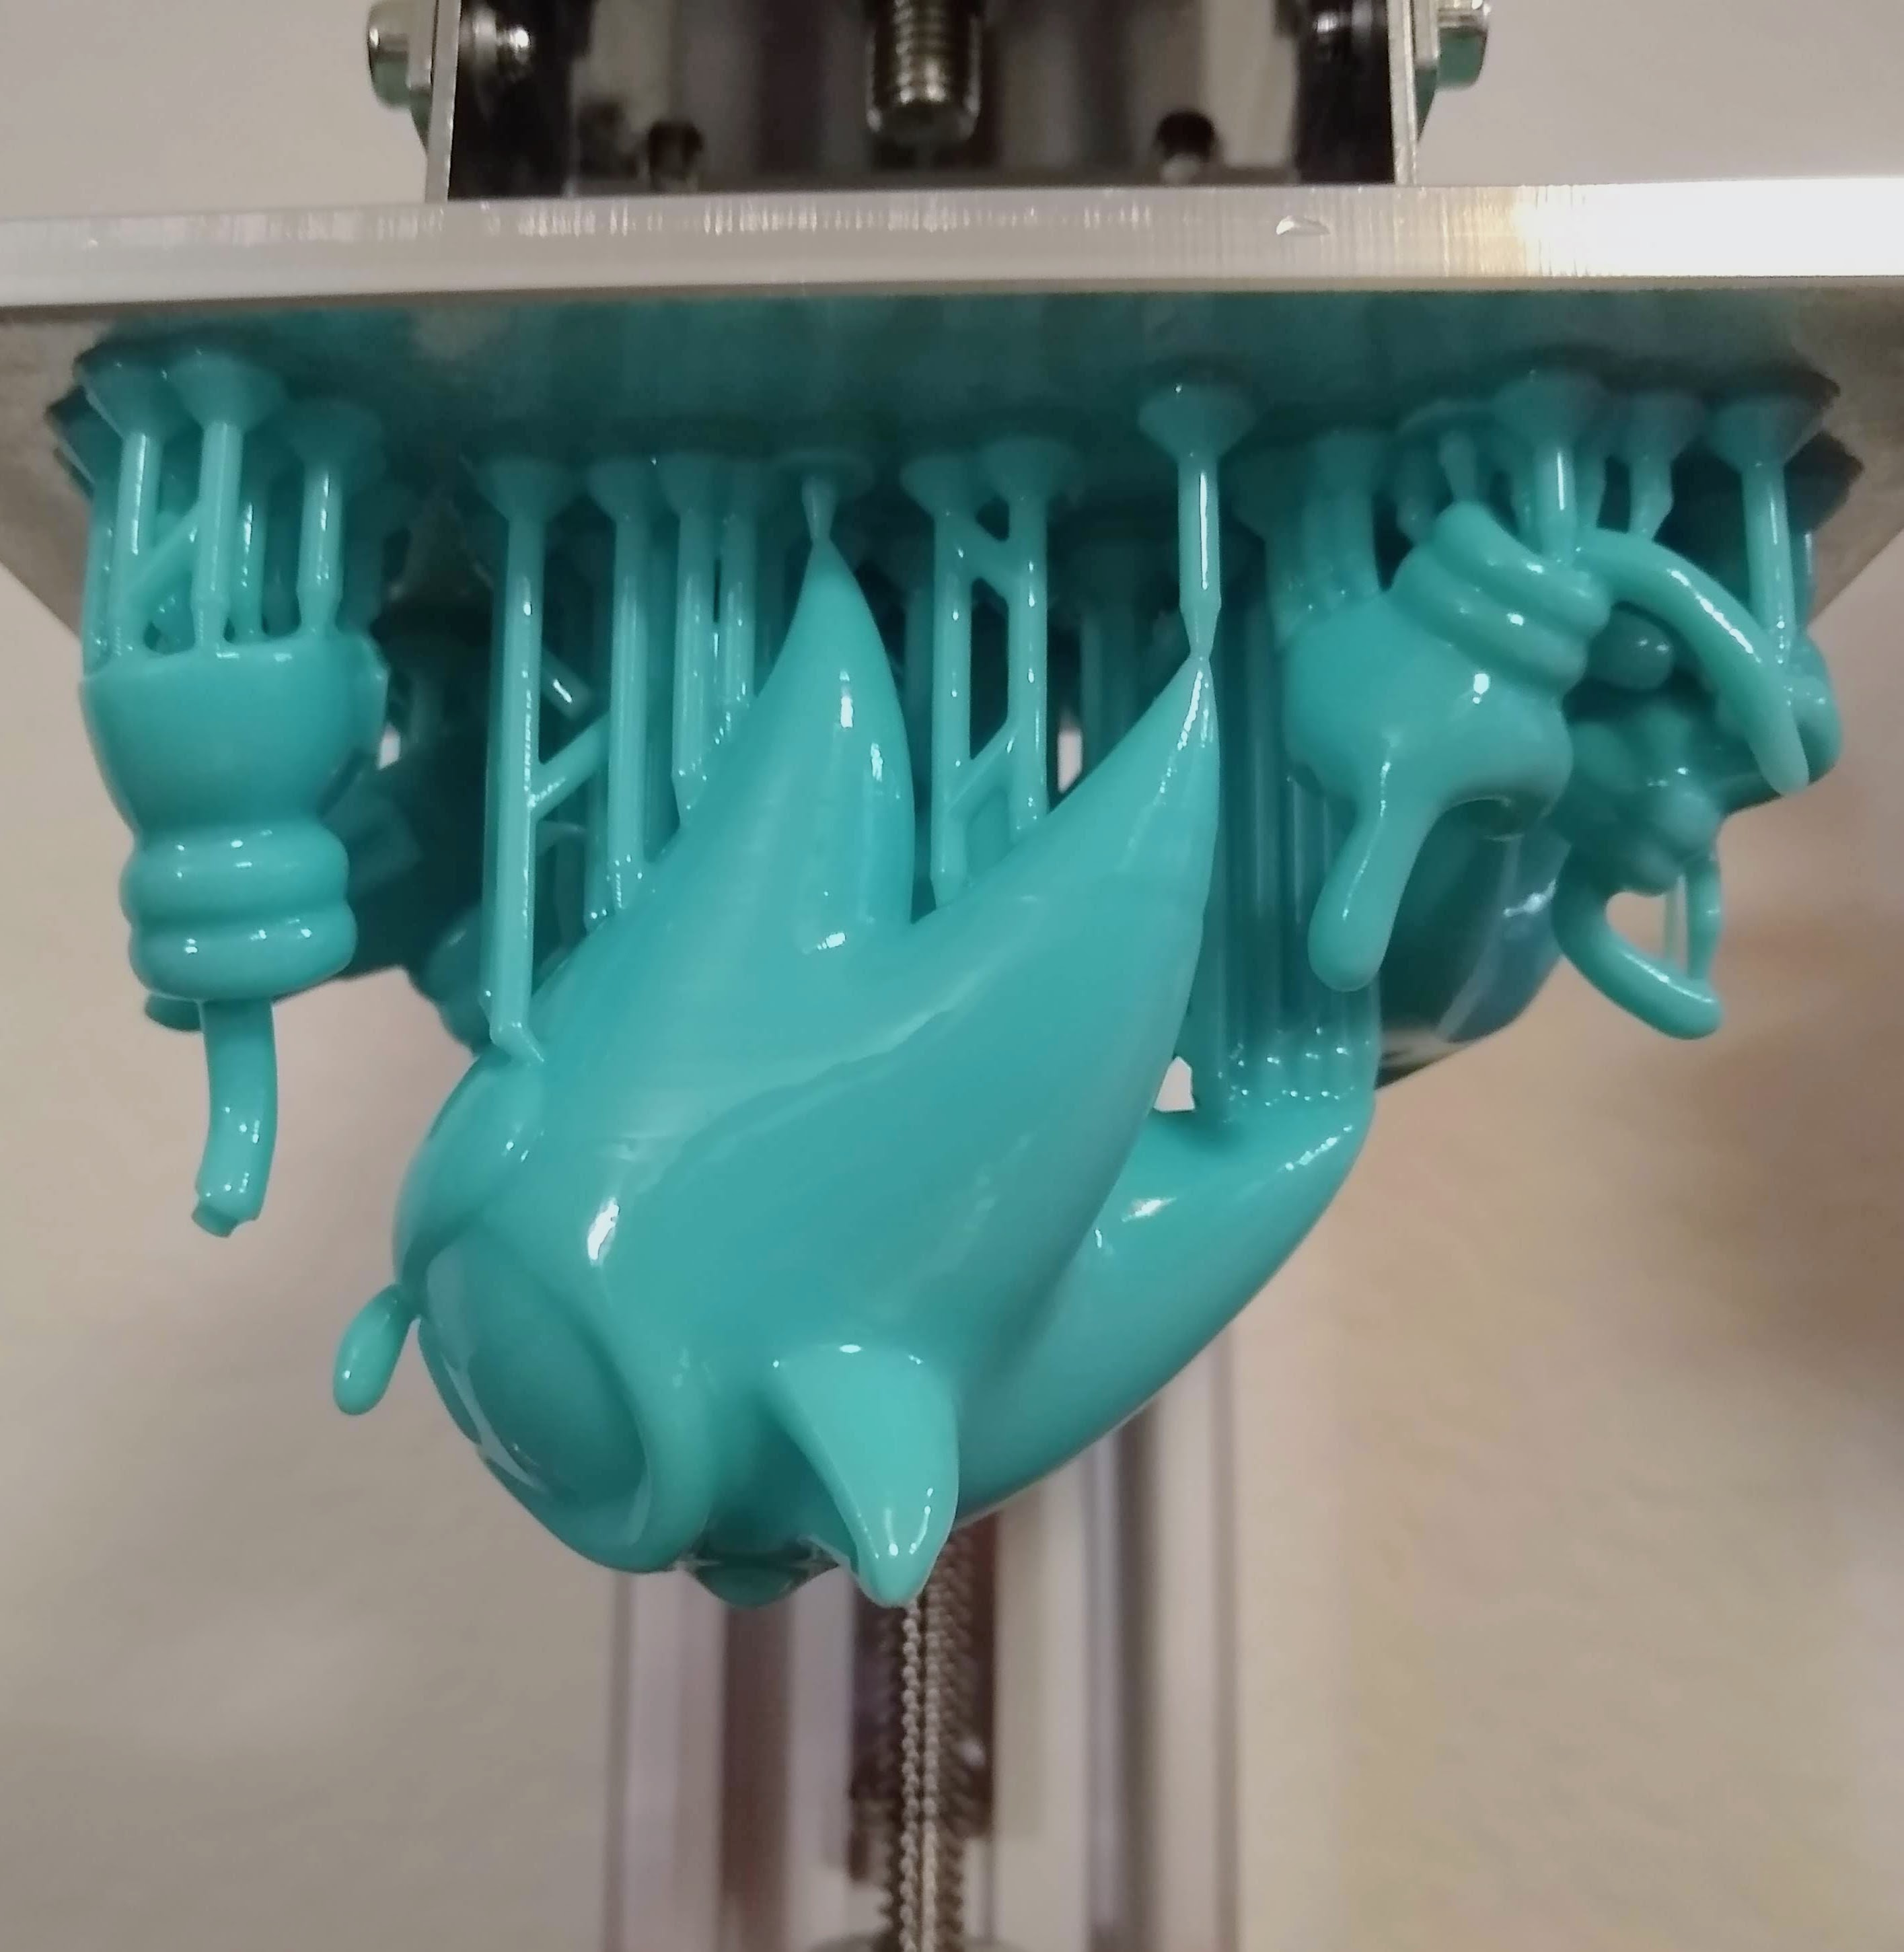
- Use supports if your model has overhanging parts.
- Experiment with different materials to see what works best for your project.
These tips will help you avoid common pitfalls and ensure your 3D prints turn out exactly as you envisioned them.
Common Challenges in ZBrush 3D Print and How to Overcome Them
Let’s face it; every artist encounters challenges. In ZBrush 3D print, some common issues include:
- Non-Manifold Geometry: This happens when your model has overlapping faces. Use the Geometry Diagnosis tool to fix it.
- High Polygon Count: Large files can be difficult to print. Use Decimation Master to reduce the count.
- Unsupported Features: Some features might not translate well to 3D printing. Stick to supported features to avoid issues.
With these solutions, you’ll be able to tackle any challenge that comes your way.
Conclusion: Taking Your ZBrush 3D Print to the Next Level
In conclusion, ZBrush 3D print opens up a world of possibilities for artists and designers. From creating intricate sculptures to designing functional objects, the potential is limitless. By following the steps and tips outlined in this guide, you’re well on your way to mastering ZBrush 3D print.
So, what are you waiting for? Dive in, experiment, and let your creativity run wild. And remember, if you have any questions or need further assistance, feel free to leave a comment or share this article with your fellow 3D printing enthusiasts.
Table of Contents
- Understanding ZBrush and Its Role in 3D Printing
- Setting Up Your First ZBrush Project for 3D Print
- Creating Your First 3D Model in ZBrush
- Adding Details and Textures to Your Model
- Preparing Your Model for 3D Printing
- Exporting Your Model for 3D Printing
- Tips and Tricks for Successful ZBrush 3D Print
- Common Challenges in ZBrush 3D Print and How to Overcome Them
- Conclusion: Taking Your ZBrush 3D Print to the Next Level

Detail Author:
- Name : Carson Collins
- Username : jasmin76
- Email : jeffery.nader@gmail.com
- Birthdate : 2003-10-13
- Address : 1710 Gerhold Drive Lake Hertha, DE 02283
- Phone : +1-520-721-8066
- Company : Williamson-Baumbach
- Job : Animal Scientist
- Bio : Minus quis et cum amet. Perferendis nemo et in et quaerat dolorum optio dolor. Quae quia tempore expedita dolores voluptates.
Socials
tiktok:
- url : https://tiktok.com/@jaufderhar
- username : jaufderhar
- bio : Numquam quisquam natus quae id blanditiis quia qui blanditiis.
- followers : 1048
- following : 2185
facebook:
- url : https://facebook.com/aufderharj
- username : aufderharj
- bio : Et vel qui nesciunt modi. Dolorum quos qui saepe rerum.
- followers : 2587
- following : 836
instagram:
- url : https://instagram.com/aufderharj
- username : aufderharj
- bio : Voluptas quia molestiae aspernatur nisi. Ut velit sed id cupiditate quis dolores consequatur.
- followers : 1815
- following : 1215
